When you really want to smoke but you don’t want the smoke smell lingering on yourself or your surroundings, your best option is a Personal Smoke Filter. It goes by many names, Sploof, Smoke Eater, Smoke Trap but no matter what you call it, a cardboard tube & some dryer sheets is not going to cut it.

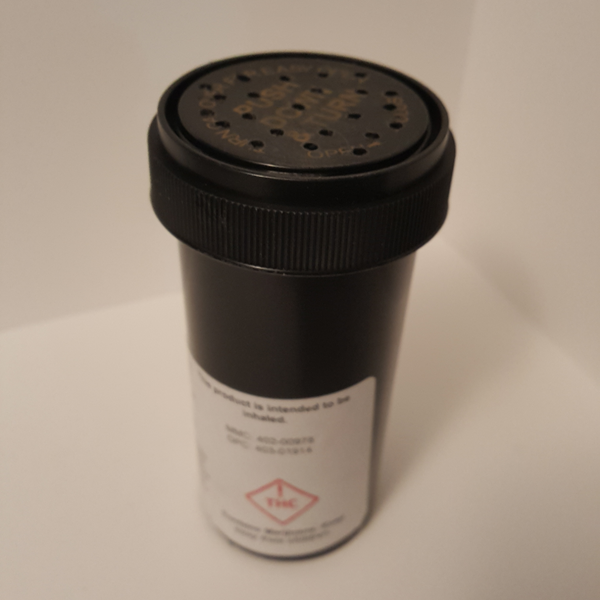
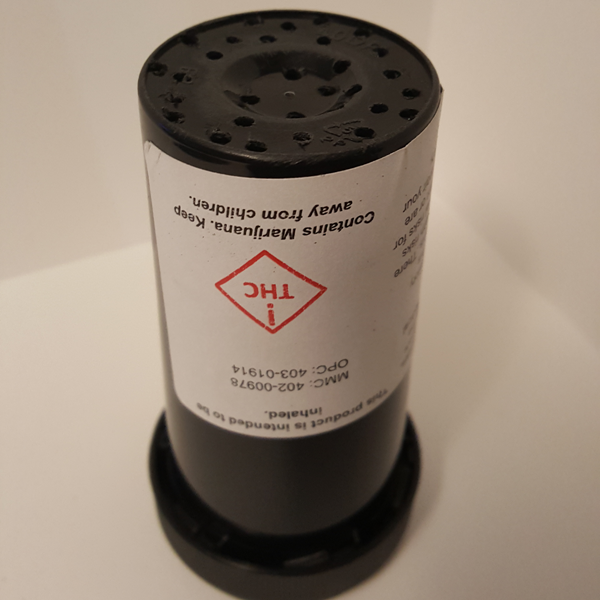
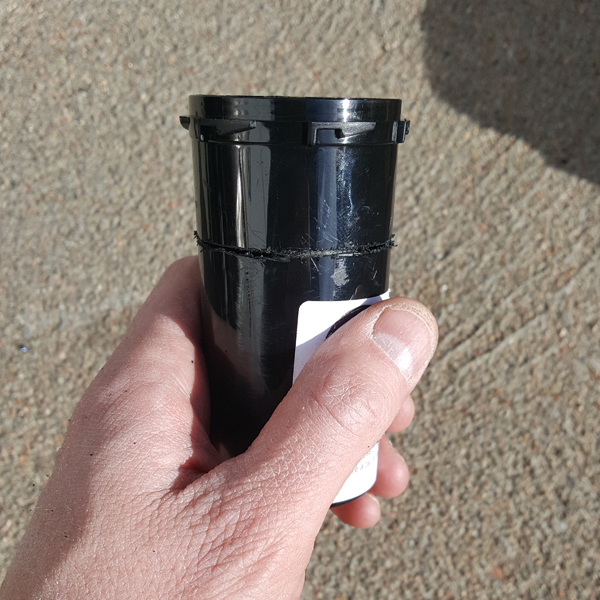
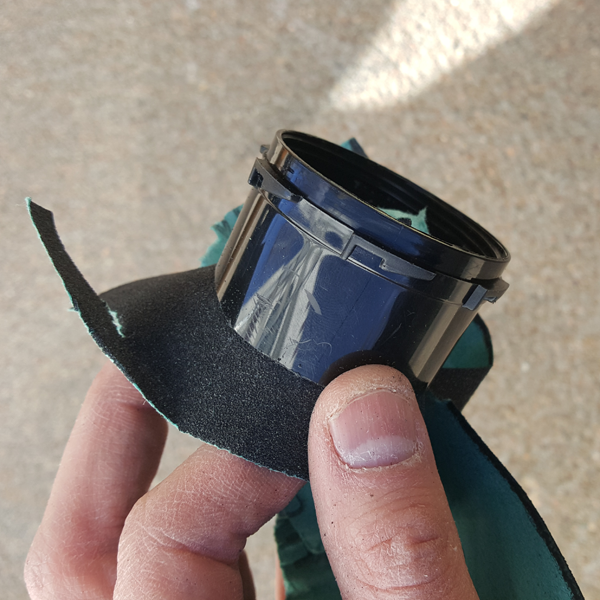
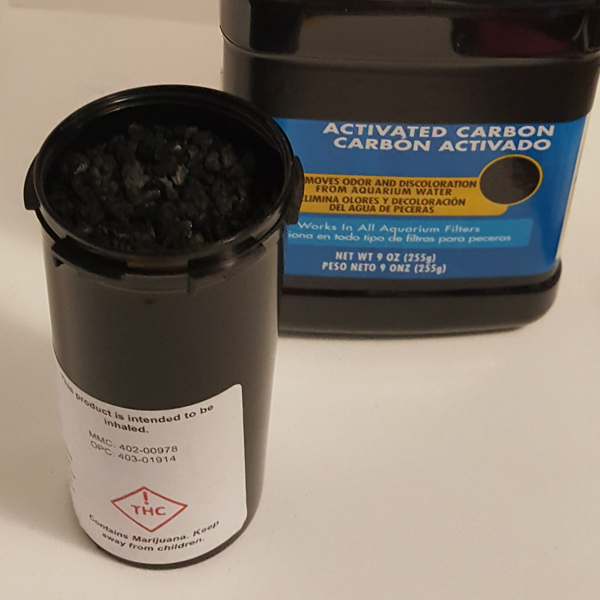
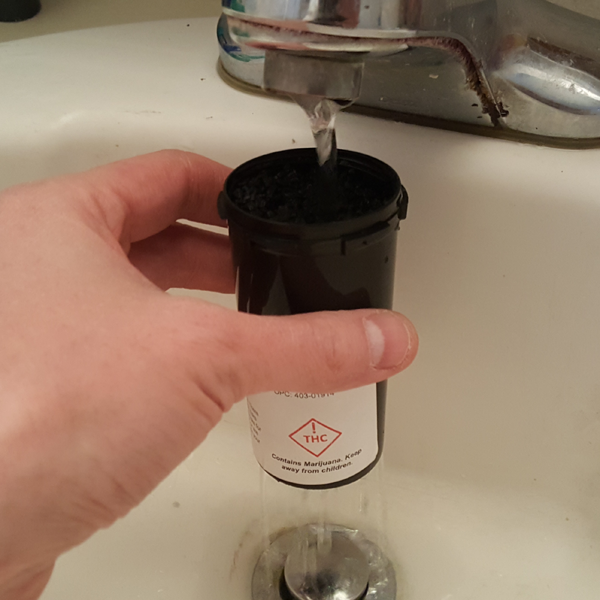
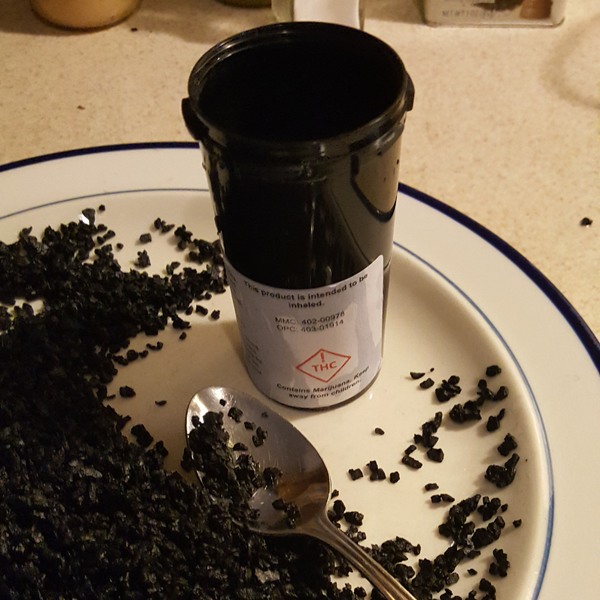
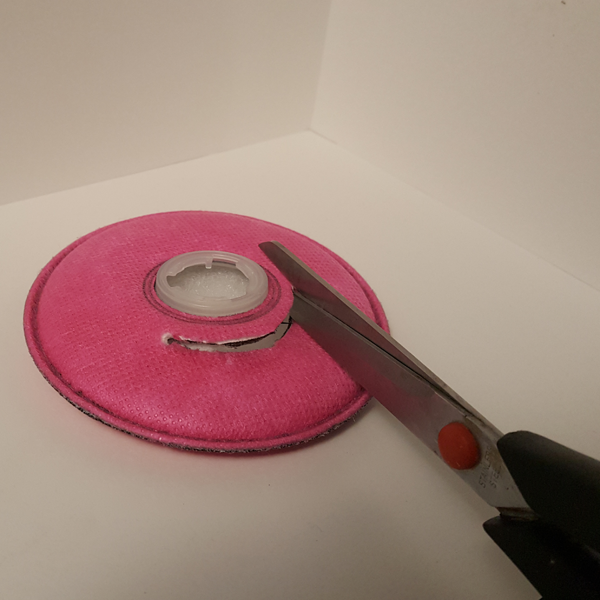
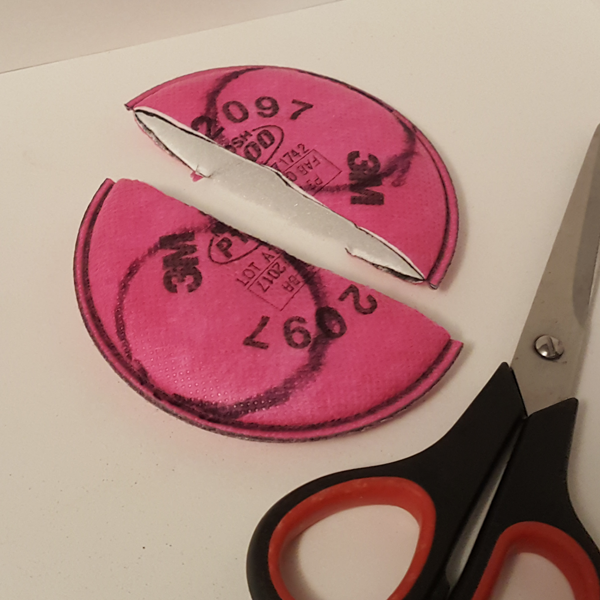
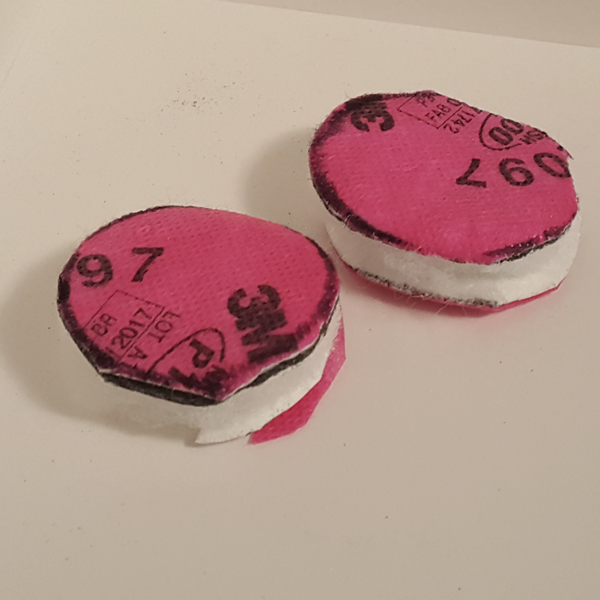
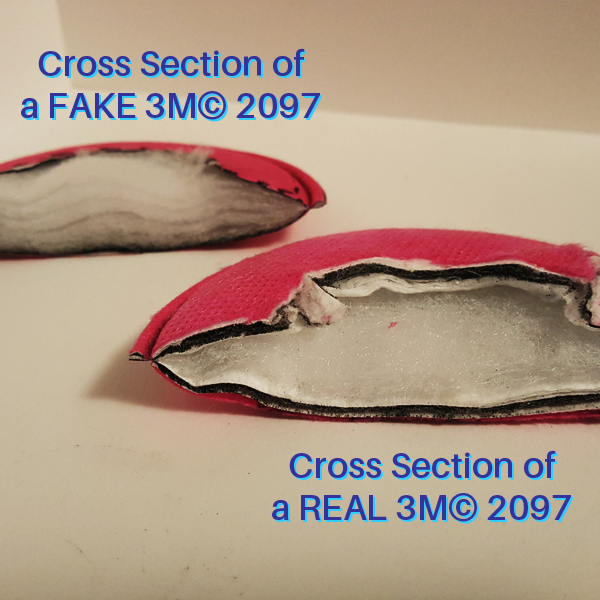
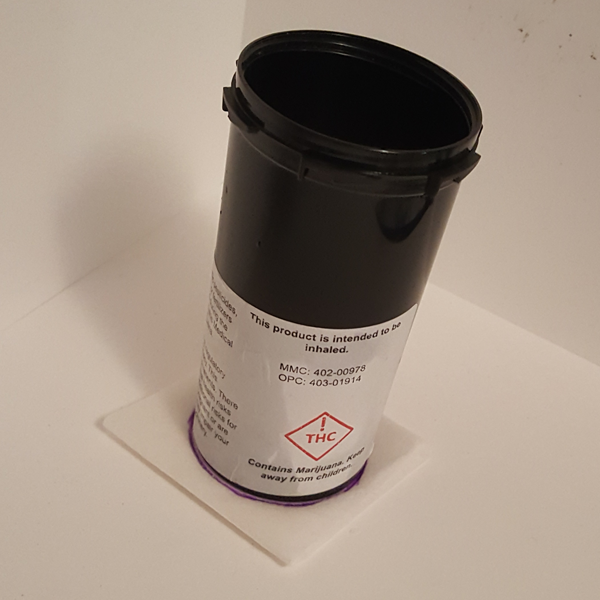
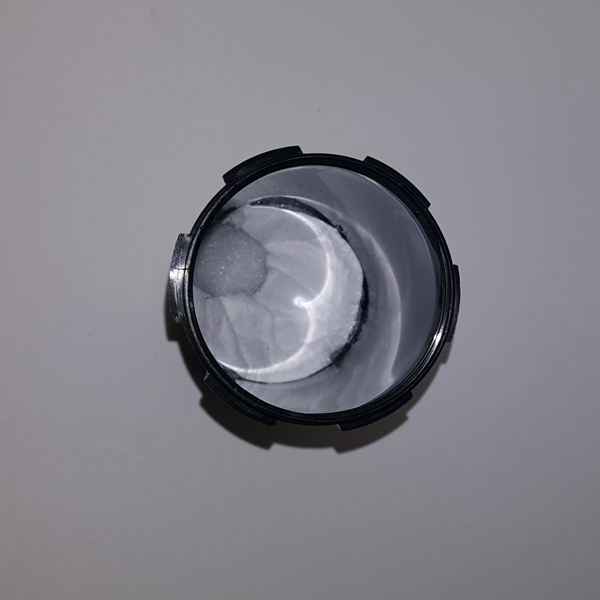
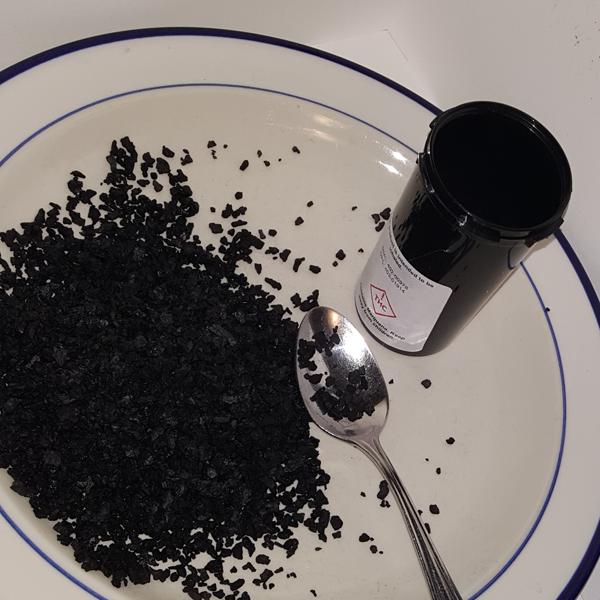
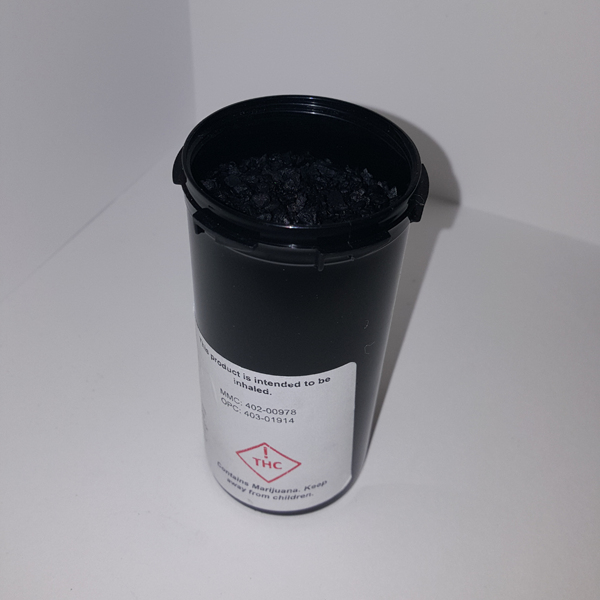
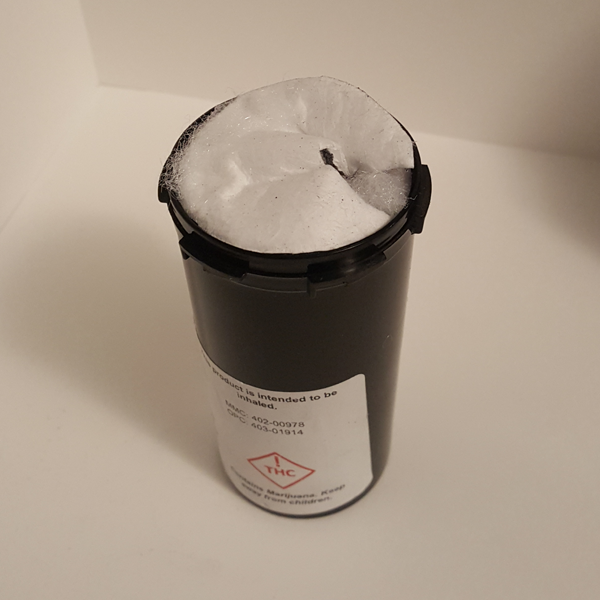
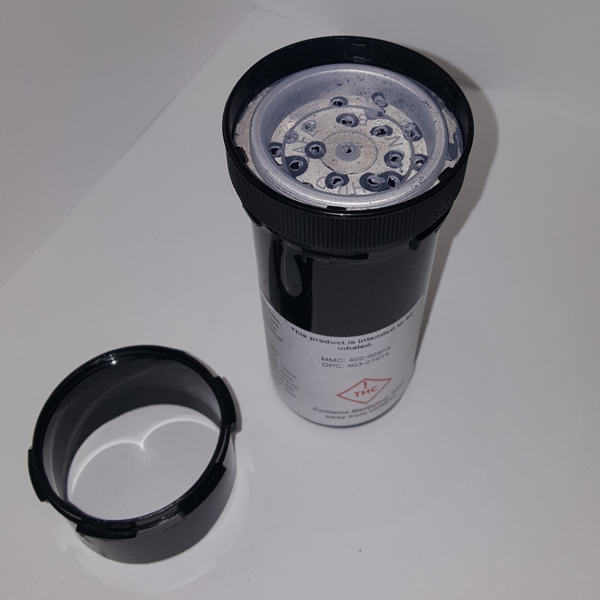
This How to Guide is for a smoke filter that I made on my quest for something that actually works. I did some research and discovered the magic of activated carbon and coupled that with some existing technology available at my local hardware store. I threw everything into an empty weed container, popped on a mouthpiece and was good to go!
O.K. It’s not quite that easy….   but it’s close
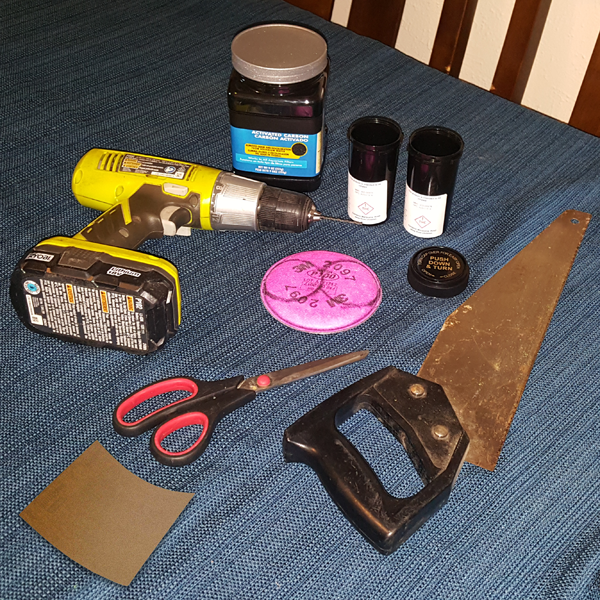
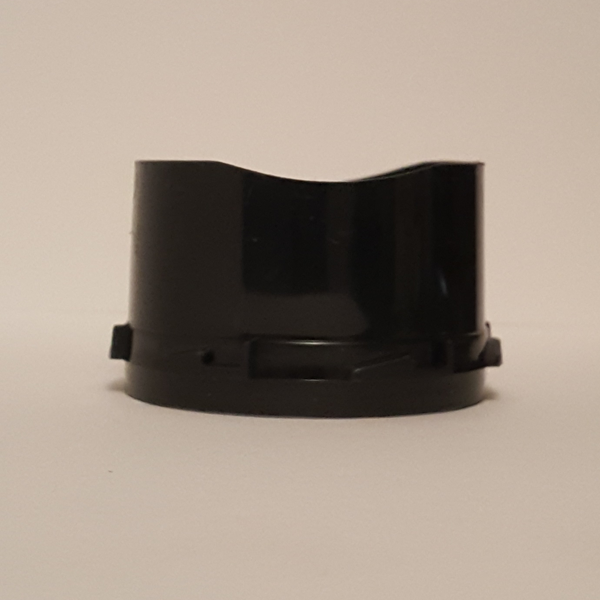
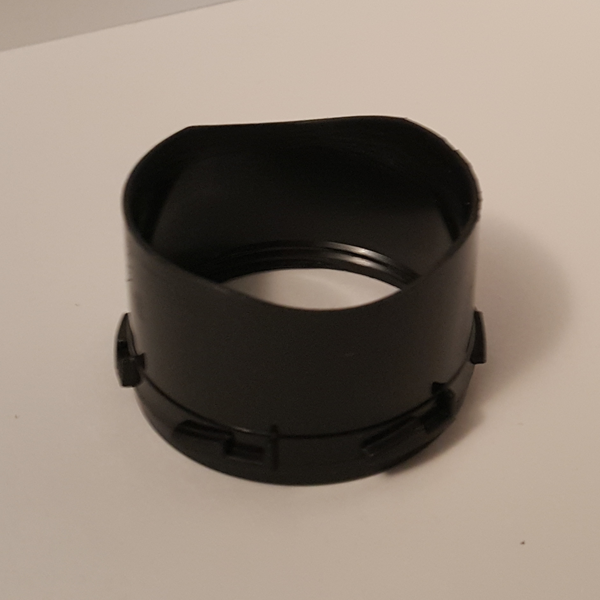
Everything You Need

  • Activated Carbon
  • 2 Empty Child Lock Containers
  • 1 Dual Thread Lid (Side lock style works best)
  •  3M© 2097 Respirator Filter Refill
  • 1 Dryer Sheet (Optional)
  • Sandpaper
  • Drill with approx. 1/8″ Drill Bit
  • Hacksaw
  • Scissors
  • Pen / Marker
  • 20 – 30 minutes of Free Time
  • Basic Mechanical Competence
 

Step 1 > Drill Holes in Main Chamber and Lid

Of course before you start step one, you need to gather your supplies. Please note that the “push & turn” style of child lock is used in the tutorial, it’s just what my dispensary has been using recently, but the “side lock” style of lid gets a better seal without use of glue. Once you have gathered everything, you may begin!

Screw the lid on one of the containers and drill about 20 holes in both the top of the lid and the bottom of the container. Be sure to space the holes enough to retain structural integrity. Go slow and let the drill do the work, if you push too hard the bottom may crack all the way through. Remove lid after drilling is complete.

Step 2 > Cut Mouthpiece
 
For this next step, I had an old (rusty) hacksaw already but if you do not have access to one yet, I’ve seen hacksaws that will work just fine at my local $1 store. Take the second container and make a clean cut about an inch from the threaded side.
 
For best results, slowly rotate as you cut and start a shallow groove that aligns perfectly around the circumference of the container and then just keep cutting while rotating until you get through evenly. Trying to cut straight down usually ends in a curved and/or jagged cut.
Step 3 > Smooth and Shape Mouthpiece

Now we need to soften the edges of the cut and give it a little curve to fit the contours of your face. The sandpaper I used was out of a bundle pack from the $1 store, medium or high grit.

Take the recently cut end of your mouthpiece and sand it evenly on a flat surface. Next we want to account for the curvature of your mouth. Take a piece of sandpaper and wrap around a 3″ – 6″ curved surface, like a baseball bat, fence post, etc. Take that same surface you just smoothed and carve out some comfort by slowly sanding in an up & down motion against your curved surface. Rinse and dry sanded edge when complete.
Step 4 > Prepare Activated Carbon
 
Activated Carbon attacks smoke/smells at the molecular level, neutralizing odor in a process called adsorption. It is commonly used in aquarium filters and can be found at your local pet shop.
 
The Carbon needs to be rinsed before use to get out dust that settles in during production and transit. Luckily it is very easy to do with your (now perforated) container from step one. Fill the container about 1/2″ from the top with carbon and rise until the water coming out of the bottom is clear. Now dry the carbon on a plate with some paper towels. Set aside for later.
Step 5 > Cut the Filter Patches
 
The next component is a single 3M© 2097 respirator filter refill, sold in pairs at your local hardware store. Take main chamber and use it to trace the patch sizes that you require. The top side is usually a little larger so trace the top and bottom on the the printed side. Then flip it over and first cut out the plastic ring, then cut out your two “patches”.
  • The pink layer may be removed, it collects more moisture than anything else.
  • Caution for knock offs (online), If the price is too good to be true, don’t buy it.
  • Optional – Fold a dryer sheet into a tight square, then cut into circular (Smaller, bottom sized) patch.
Step 6 > Layer the Main Chamber
 
The prep work is done, now it’s time to put it all together. Take the main chamber and fill it (in order) with:
  1. Dryer Sheet Patch (if wanted)
  2. First (smaller) Filter Patch
  3. Activated Carbon (Dry)
  4. Second (larger) Filter Patch
Step 7 > Attach & Enjoy!
Firmly pack the filtration materials and thread the lid onto the main chamber, holes side down. Attach mouthpiece onto the remaining open thread and give it a test. If you are using a “side lock” style lid you are probably good to go. If you are using a “push down to turn” style lid, you will probably need to use a little superglue on the top side thread to create the requisite air-tight seal.

Congratulations You Did It! Now go pack a bowl of your favorite combustible consumable and test your new creation. For maximum covertness pack only one hit at a time or use a vape pen. Please enjoy responsibly and check us out when you’re ready for an upgrade!